Getting Started with SEDL
Get up and running with SEDL in just a few minutes. This guide will walk you through creating your first app, setting up event types, and sending your first event.
- How to create and configure your first app
- How to set up event types for categorizing your data
- How to send events using the API
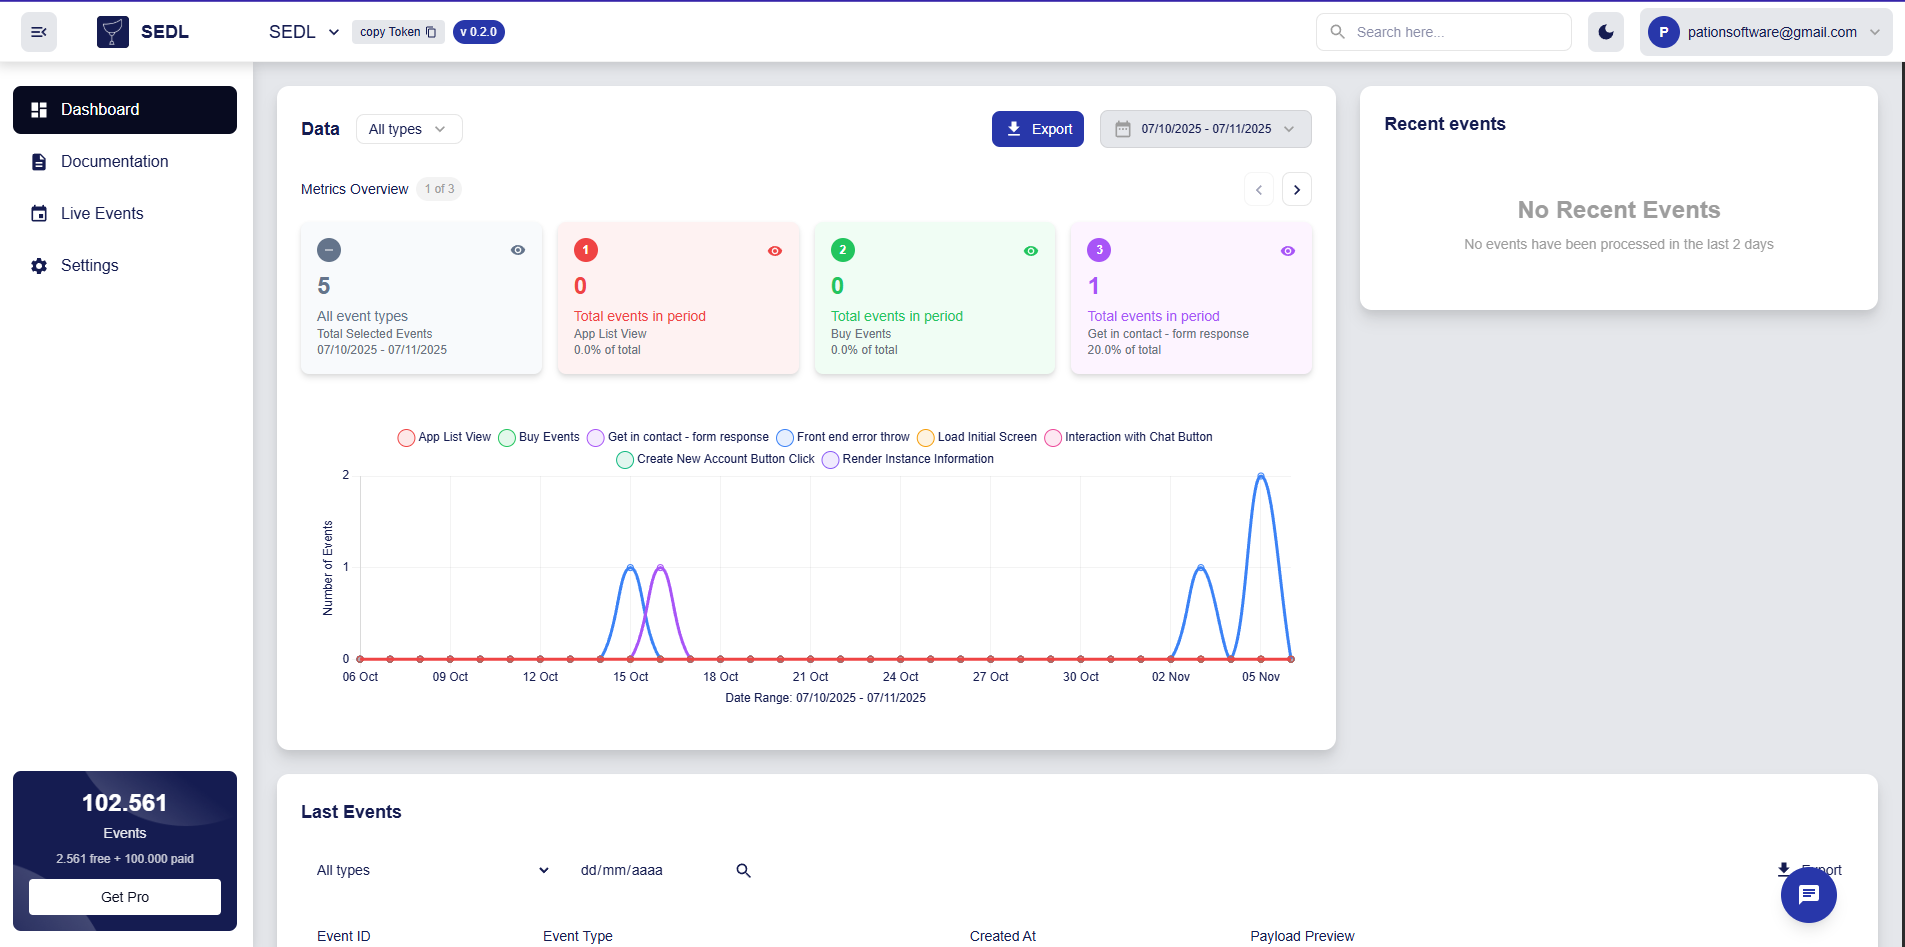
- How to view your data in the dashboard
Step 1: Create Your First App
After signing in to SEDL, you'll see the "My Apps" screen with a list of apps you own or have access to.
- Click the plus-sign button next to the screen title
- Enter a descriptive name for your app (e.g., "My Website Analytics")
- Click Create
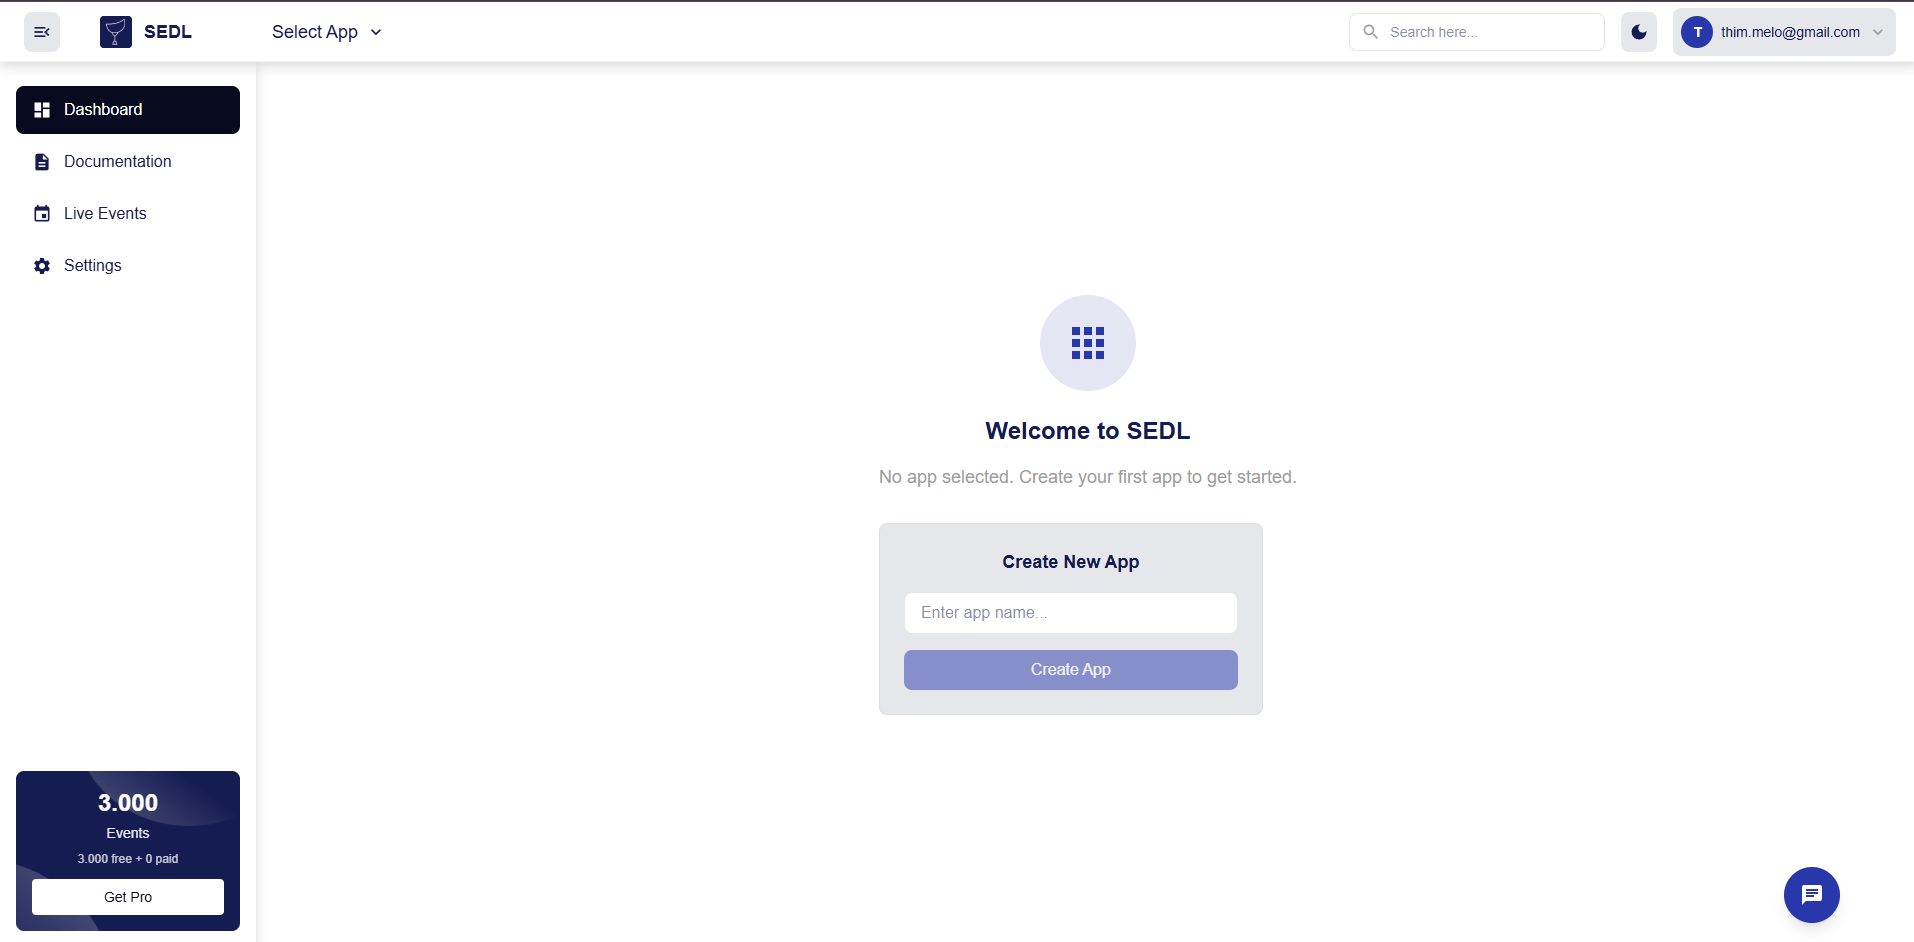
Your new app will appear in the list with your role, creation timestamp, and an arrow button to access it.

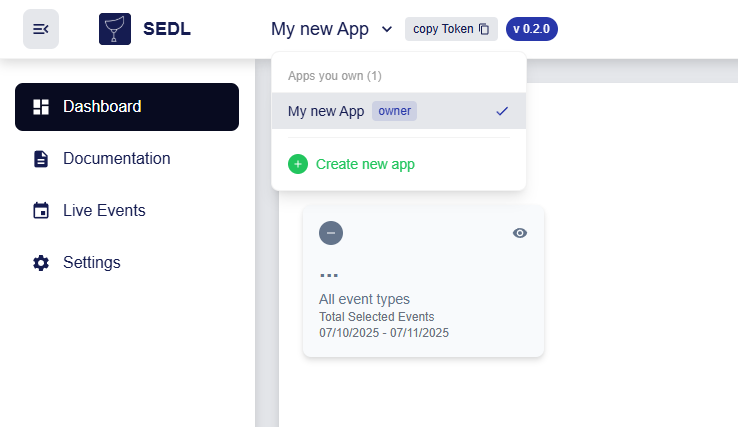
Step 2: Get Your App Configuration
Click the arrow button on your app to access the dashboard.
Get Your Logging Token
- Click on "Event Logging Token" in the app dashboard
- Copy the token - you'll need this for API requests
Never expose your logging token in client-side code. Always make API calls from your backend servers.
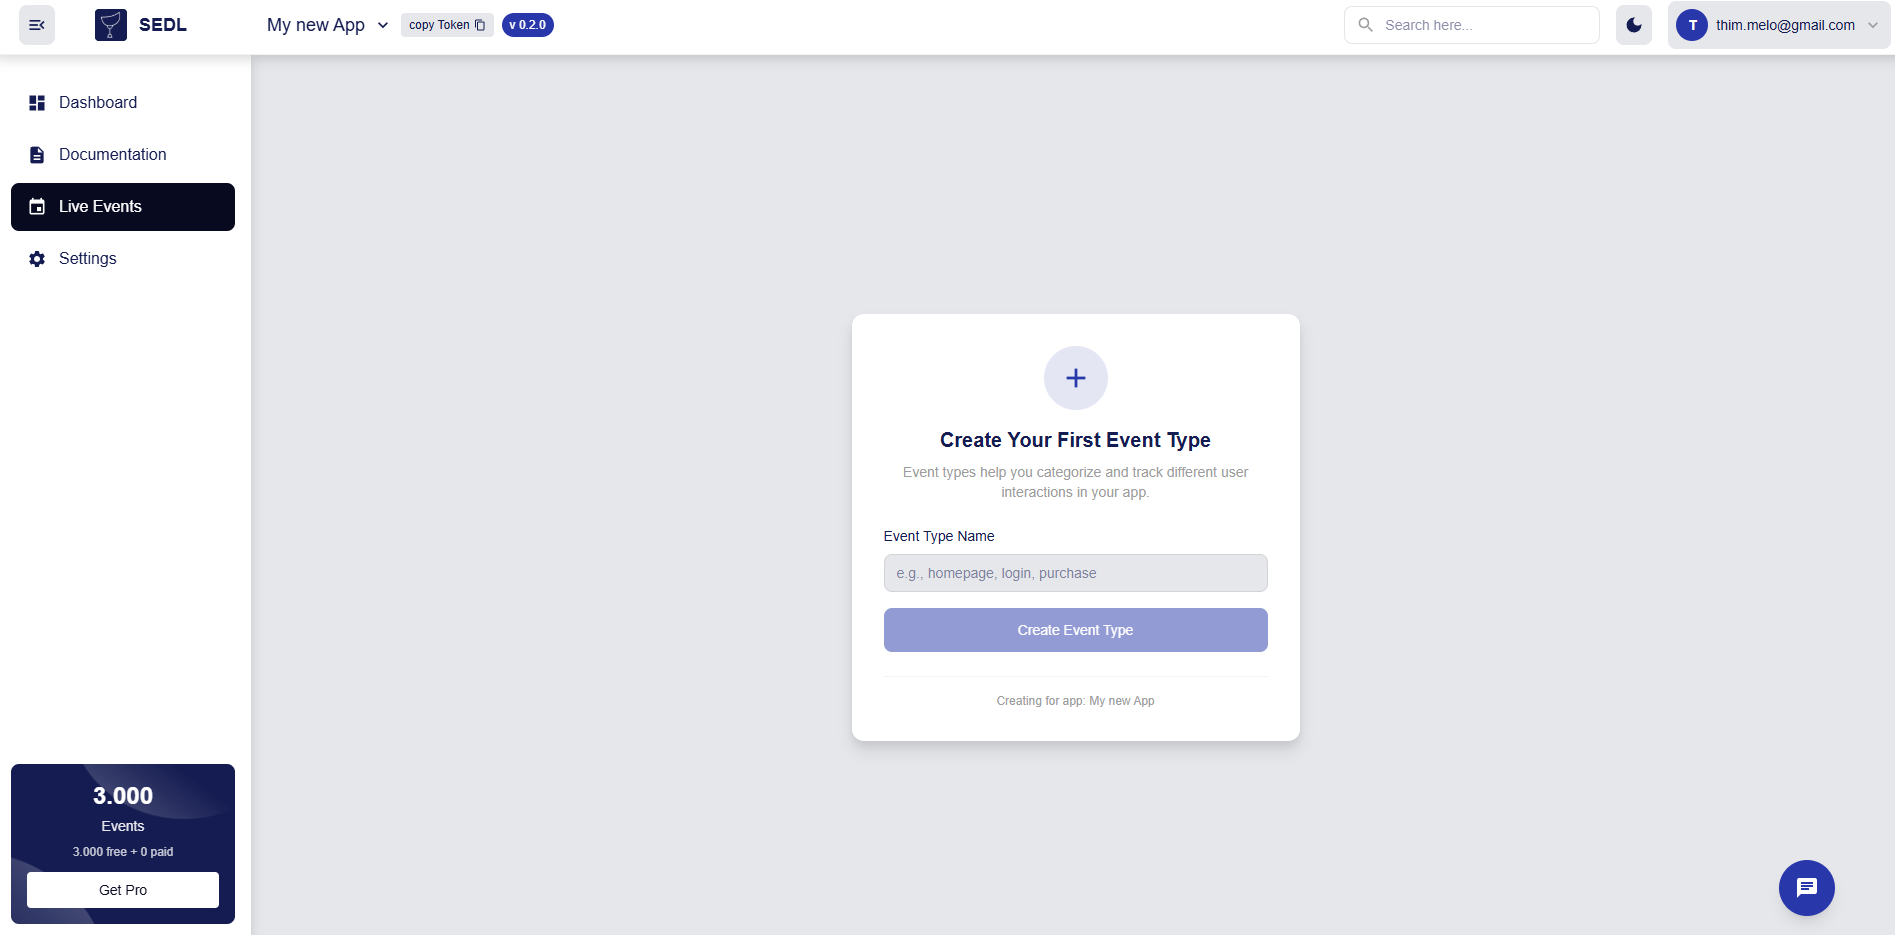
Step 3: Create Event Types
Event types categorize different kinds of events in your application.
- Click "View Events" from your app dashboard
- Click the plus-sign button to create a new event type
- Enter a descriptive name (e.g., "button_click", "page_view", "user_signup")
- Click Create
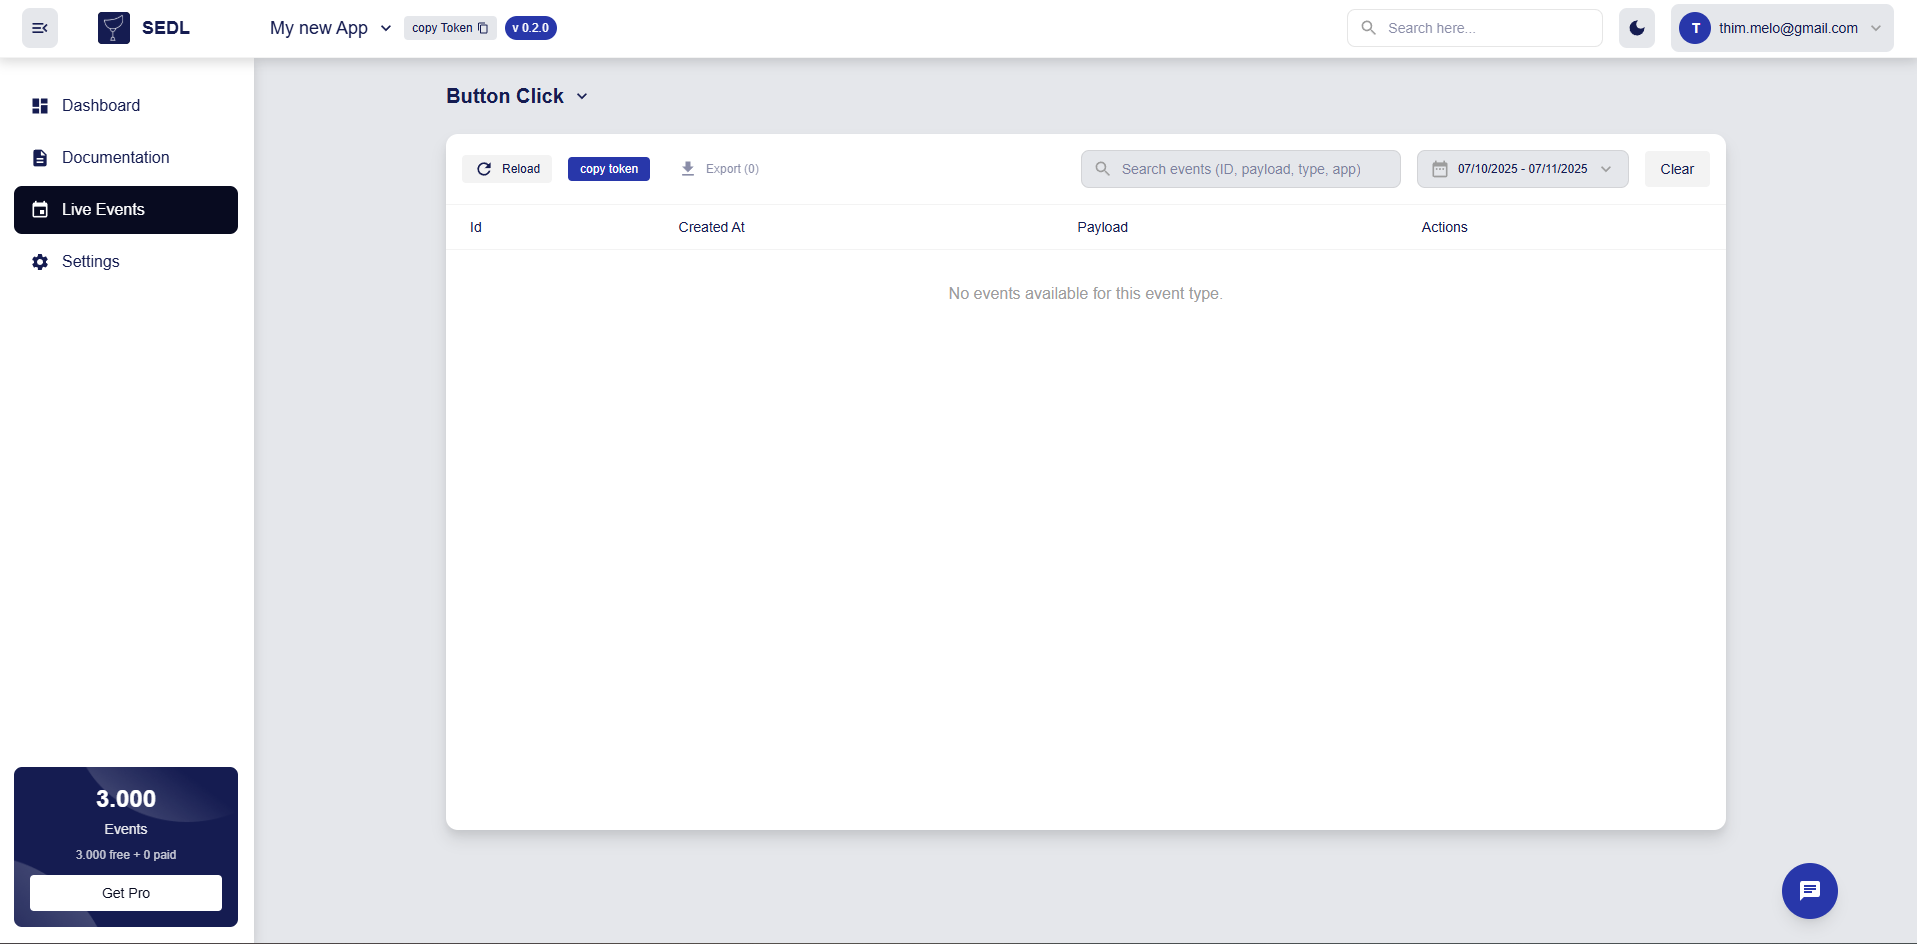
Copy the Event Type ID from the list - you'll need this for your API requests.
Step 4: Send Your First Event
Now you're ready to send events to SEDL! Use the API endpoint with your logging token and event type ID.
API Endpoint
POST https://api.sedl.dev/public/create_event
Request Structure
{
  "loggingToken": "<your app's logging token>",
  "typeId": "<your event type's ID>",
  "payload": "<any JSON object with your event data>"
}
The payload can be any valid JSON object. This gives you complete flexibility in what information you want to track.
Step 5: Example Implementation
Request Details
The request structure is straightforward. You need to provide three main fields:
- loggingToken: Your app's authentication token
- typeId: The specific event type identifier
- payload: Any JSON object with your event data
Response Information
A successful request will return a 201 Created status with the event details including a unique event ID and timestamp.
Error Handling
Make sure to handle potential errors:
400- Invalid request body401- Invalid logging token404- Event type not found
Additional Examples
You can also use other programming languages like Python or JavaScript. The principle remains the same - make a POST request to the endpoint with the required JSON payload.
curl -X POST https://api.sedl.dev/public/create_event \
  -H "Content-Type: application/json" \
  -d '{
    "loggingToken": "f565c835ef40673f1a67f15d294f3e9d",
    "typeId": "038c6337-d021-4767-89f9-1e59e49fe475",
    "payload": {
      "field1": "value1",
      "field2": "value2",
      "timestamp": "2023-10-24T10:30:00Z",
      "userId": "12345",
      "action": "button_click"
    }
  }'
{
  "success": true,
  "eventId": "evt_abc123def456",
  "message": "Event logged successfully",
  "timestamp": "2023-10-24T10:30:05Z"
}
import requests

response = requests.post(
    "https://api.sedl.dev/public/create_event",
    json={
        "loggingToken": "f565c835ef40673f1a67f15d294f3e9d",
        "typeId": "038c6337-d021-4767-89f9-1e59e49fe475",
        "payload": {"field1": "value1", "field2": "value2"}
    }
)
print(response.json())
Step 6: Manage Your Apps
Once you have events flowing into SEDL, you can use the management features:
Adding Team Members
To share your app with other users:
- Go to your app dashboard
- Click "Add Maintainers"
- Enter their email address
- Click Submit
Team members will then have access to view and manage events for your app.
Viewing Analytics
Monitor your events over time:
- Click "View Event Dashboard" from your app dashboard
- Switch between histogram and accumulated views
- Use "Change Time Range" to filter specific periods
What's Next?
Congratulations! You've successfully:
- ✅ Created your first app
- ✅ Set up event types
- ✅ Sent your first event
- ✅ Learned about app management
Continue Learning
- API Reference - Complete API documentation
- Core Concepts - Deep dive into SEDL's architecture
- Advanced Examples - More complex implementation patterns
Need Help?
If you run into any issues:
- Check the API documentation for detailed endpoint information
- Review the Core Concepts to better understand SEDL's data model
- Make sure your JSON payload is valid and properly formatted